Finlock Concrete Guttering
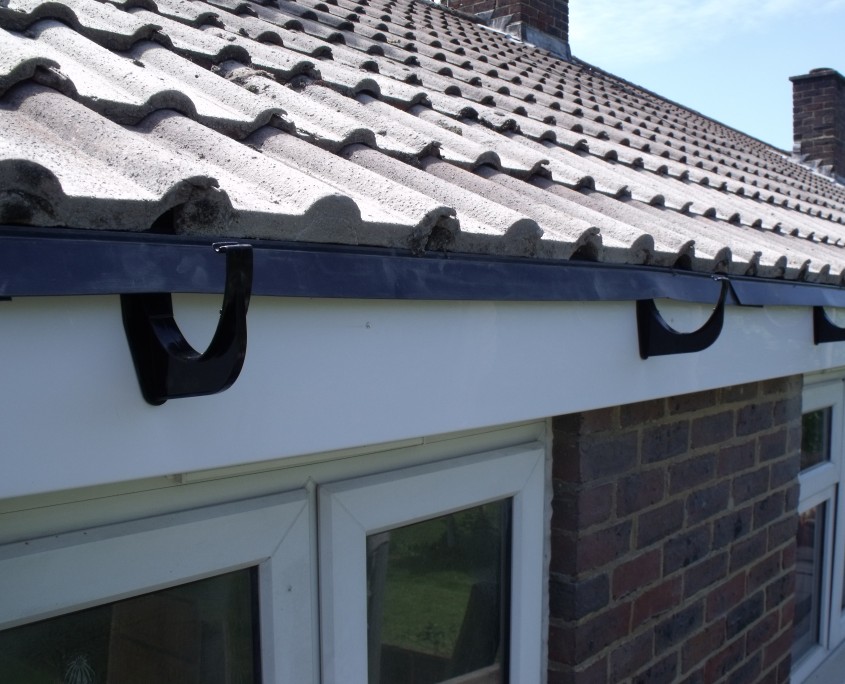
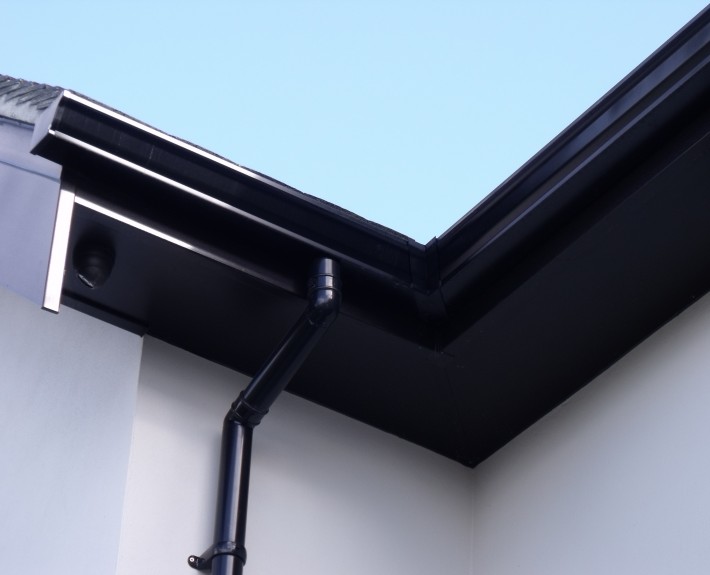
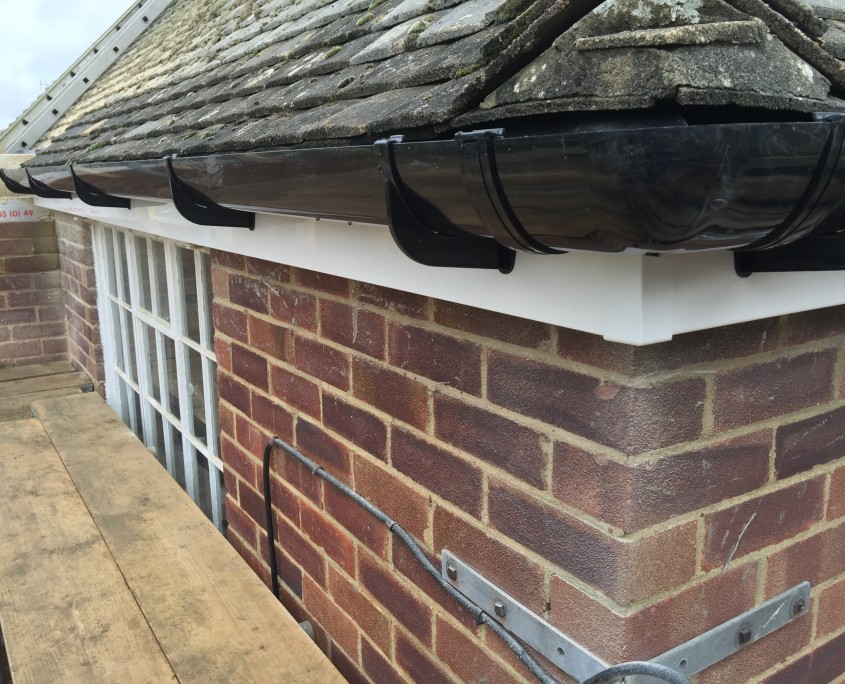
The Homefront Roofline Surrey Ltd specialise in the removal and replacement of Finlock concrete gutters.
Why Replace your Finlock Concrete Gutters?
- Eradicate Leaks and Damp from Faulty Joints and Grouting
- Improve Thermal Efficiency Across the Wall Cavity
- Reduce Risk of Condensation from Thermal Conduction
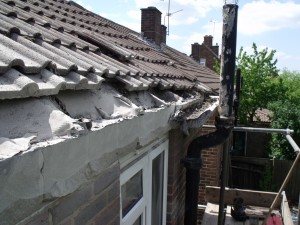
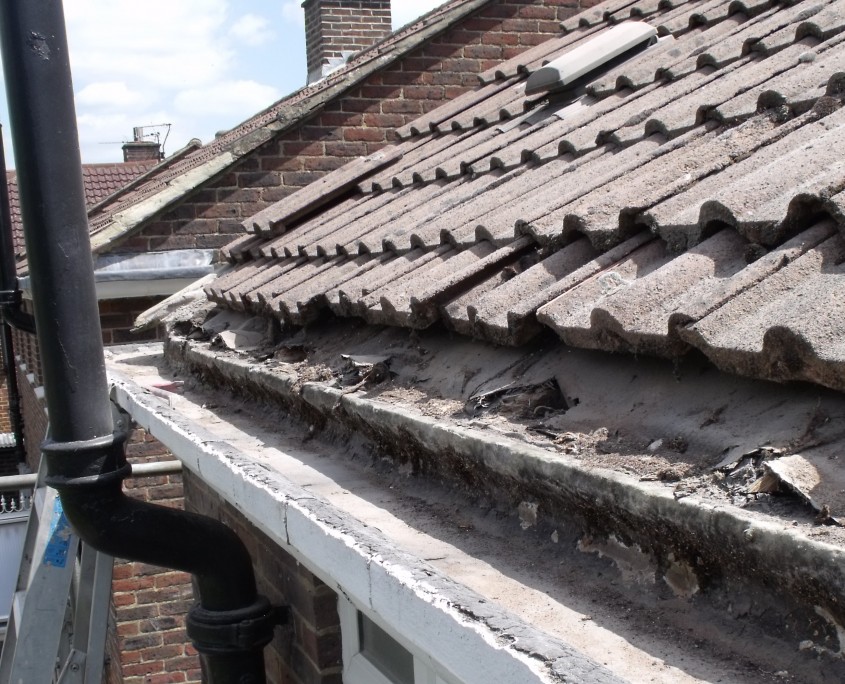
Concrete Gutters (or Finlock Gutters as they are commonly known) are notorious for leaking and making houses damp and causing condensation. The main reasons for this are due to a breakdown in the grout that joins the sections together and something known as the “cold bridging issue” which is where cold and damp is pass into the home via the concrete sections that span the wall cavity.
Replacement Process
Here is our 10-step process for the removal and replacement of Finlock Concrete Gutters.
Step 1 – Initial Survey
The process begins with a meeting with our surveyor. Our surveyor will inspect your roof and find out if your gutters are truly the root cause of any problems that you might experience. He will then provide you with a brief report stating what he believes the problem is, and a recommend course of action. This is completely free of charge and without obligation.
Step 2 – Removal of Front Section of Concrete Gutters
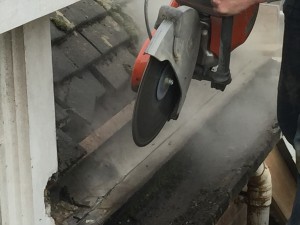
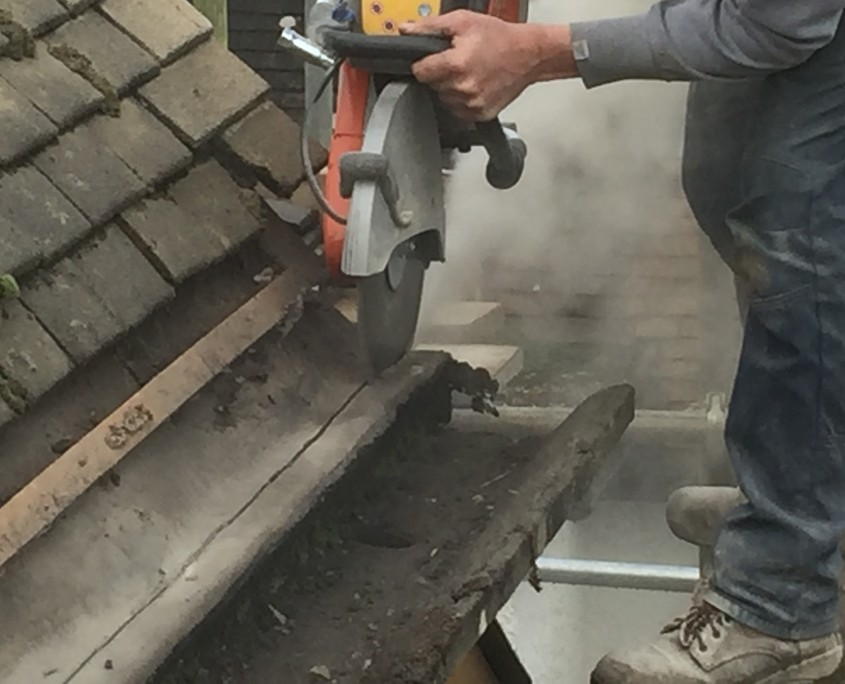
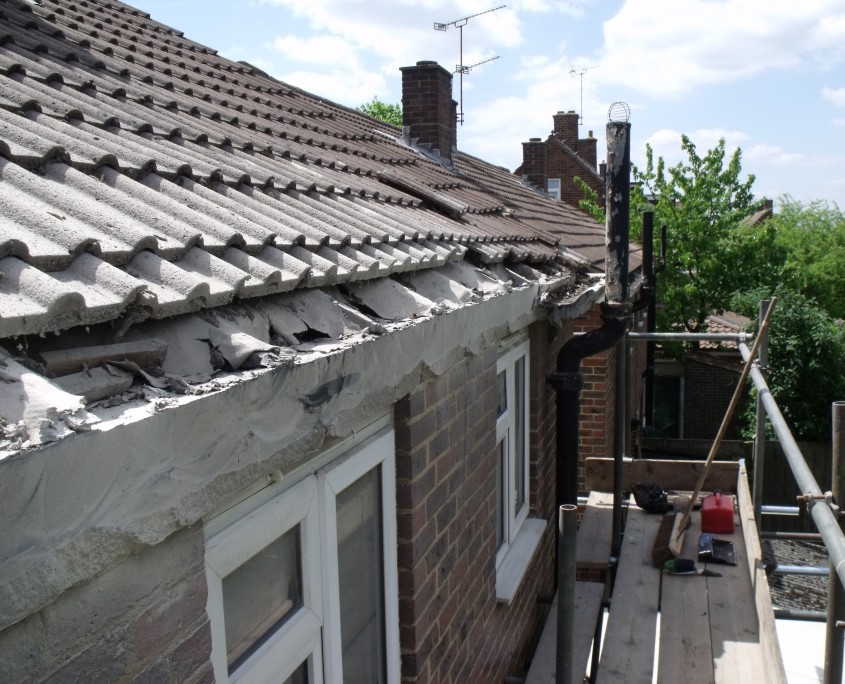
If you decide to replace your gutters, we will start by erecting a scaffolding to give us safe access to your roof. We will then remove the bottom few courses of roof tiles and clear any debris from your gutters. We will then use special cutters to remove the front section of your concrete gutters. This will result in a solid capstone that will be flush with your brickwork.
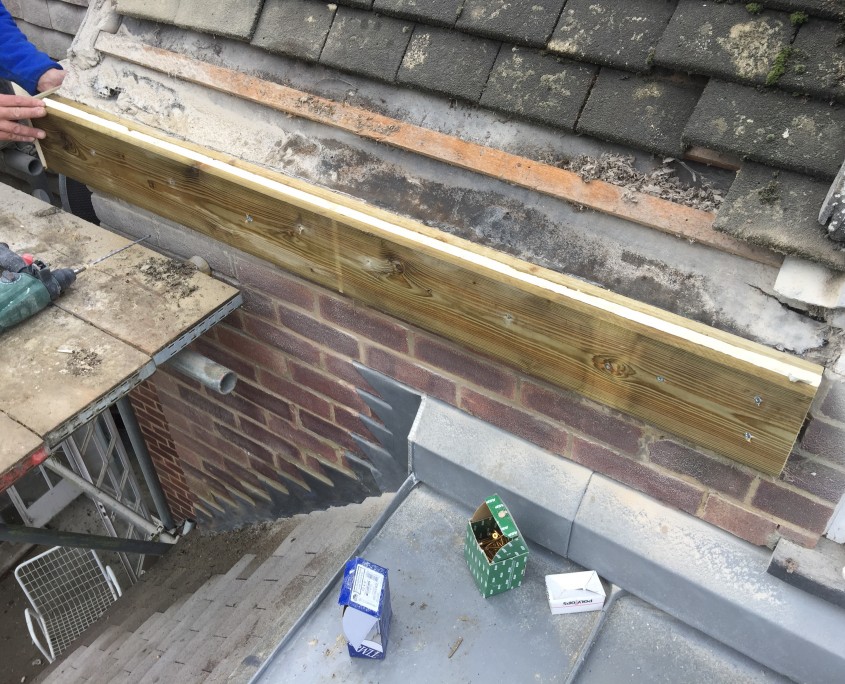
Step 3 – Installation of Tanalised Timber Wall Plate
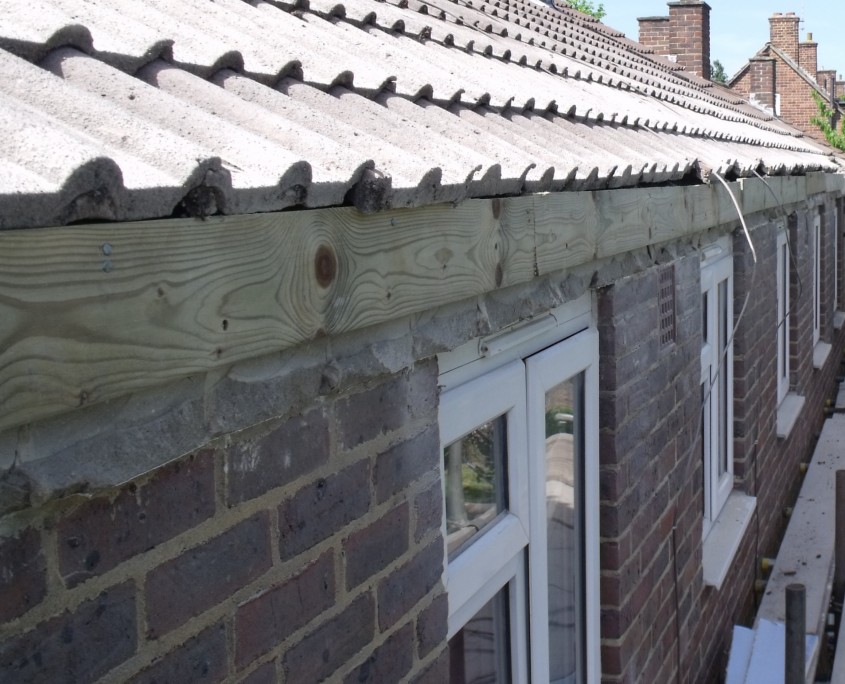
Next we will install a timber wall plate. This is drilled, plugged and screwed into the capstone so that it forms a solid base to install the new roofline products. This also provides insulation which helps with the “cold bridging issue” (see above).
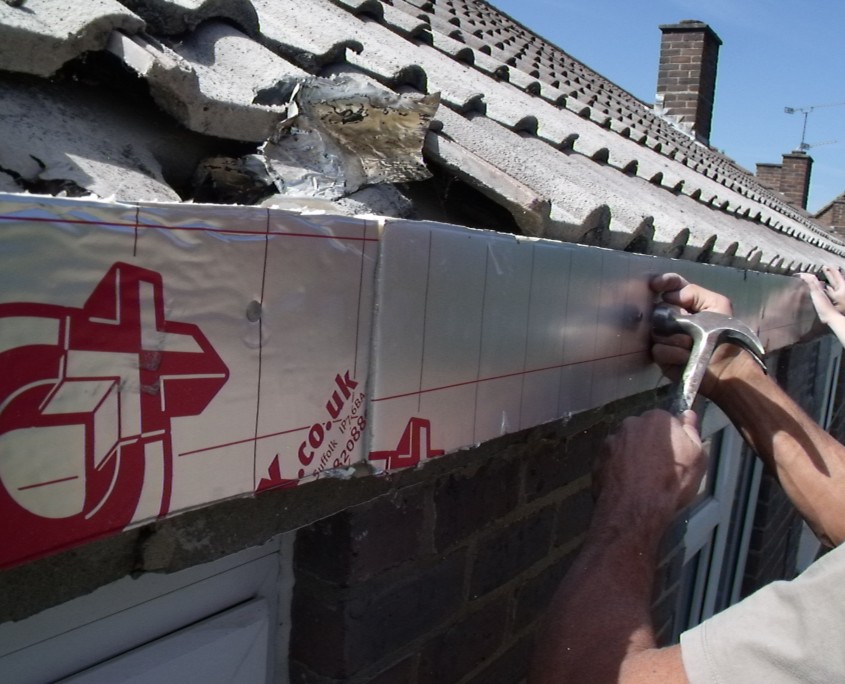
Step 4 – Installation of 25 mm Polystyrene Insulation
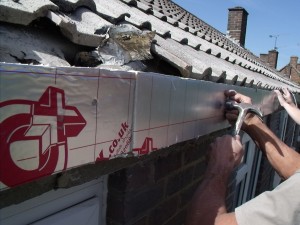
25mm polystyrene insulation board is fixed into timber wall plate to further improve the “cold bridging issue”.
Step 5 – Installation of Tanalised Timber Fascia Backing Board
A further timber fascia backing board is installed on top of the polystyrene insulation to provide the UPVC roofline products with a final solid base. This also improves the thermal efficiency of the thermal bridge described above.
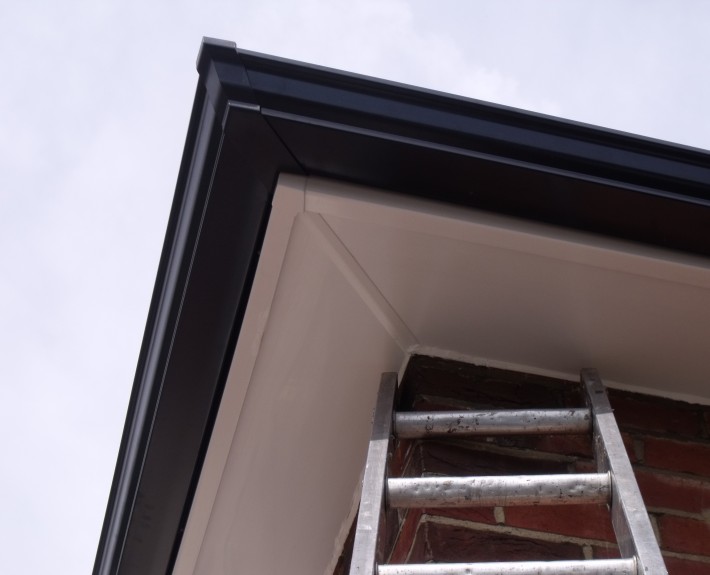
Step 6 – Installation of The UPVC Soffit Boards
A 9mm UPVC soffit board is fixed to the undersides of both the wall plate & fascia backing board. This provides an attractive maintenance-free finish and protects the insulation and timber.
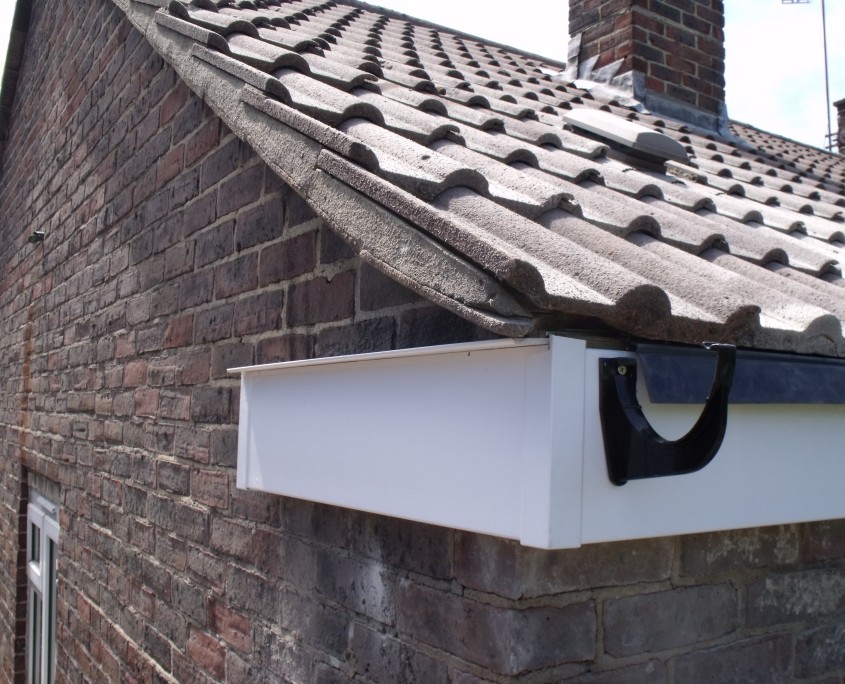
Step 7 – Installation of UPVC Fascia Boards
A 9 mm UPVC fascia board is fixed through into the timber backing board. This also provides an attractive maintenance-free finish and protects the insulation and timber.
Step 8 – Installation of Fascia Trays
PVC fascia trays are now installed to protect the newly installed timber and insulation and to guide rainwater into the gutters without splashing or dripping.
Step 9 – Installation of Gutters & Down Pipes
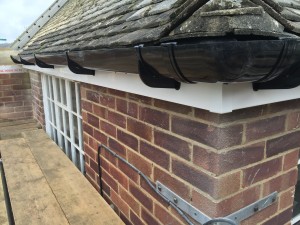
We now install either PVC or seamless aluminium gutters and down pipes.
Step 10 – Re-Fitting of Roof Tiles, Making Good and Clearing Up
Finally, we refit your roof tiles and re-point as necessary, clean down and remove all debris from site.
Previous Case Studies
Here is a case study showing some concrete gutters that we replaced in Farnham, Surrey.
Need a quote or want to know more? Request samples, ask advice or arrange a free no-obligation quotation.
What Next?
Want to know more? Request samples, ask advice or arrange a free no-obligation quotation.
AREAS COVERED
Surrey, Kent, Sussex, Hampshire, Middlesex, South West London, Ashtead, Banstead, Byfleet, Camberley, Carshalton, Cheam, Chessington, Chipstead, Claygate, Cobham, Coulsdon, Croydon, Earlsfield, Epsom, Ewell, Esher, Guildford, Kingston, Leatherhead, Mitcham, Molesey, Morden, New, Malden, Oxshott, Purley, Putney, Raynes, Park, Southfields, Surbiton, Sutton, Tadworth, Tolworth, Tooting, Wallington, Walton-on-Thames, Wandsworth, Wimbledon, Worcester Park.
Pages
Gallery
- Installation of UPVC Fascias, Soffits, Cladding and Deep-Flow Guttering in Walton Upon Thames, Surrey December 6, 2021
- Installation of UPVC Fascias, Soffits and Deep-Flow Guttering in Banstead, Surrey September 6, 2021
- Installation of Black UPVC Fascias & White Soffits with Deep-Flow Guttering in Great Bookham, Surrey August 13, 2020
- Installation of White UPVC Fascias & Soffits with Black Seamless Aluminium Gutters in Leatherhead, Surrey August 13, 2020
- Installation of Rosewood Fascias, Soffits and Seamless Aluminium Guttering in Tadworth, Surrey. August 13, 2020
- Installation of Black Fascias, Soffits and Seamless Aluminium Guttering in Cheam, Surrey. June 30, 2020
- Fascias, Soffits & Guttering Installation in Oxted, Surrey June 30, 2020
- Fascias, Soffits & Guttering Installation in Warlingham, Surrey June 30, 2020
- Mock-Tudor Exterior Cladding Installation in Feltham TW12. April 12, 2019
- Installation of Fascias, Soffits and Aluminium Gutters in Ashtead Surrey October 11, 2018
- Installation of Fascias, Soffits and Aluminium Gutters in Kingswood Surrey October 1, 2018
- Installation of Fascias, Soffits & Gutters in Cheam, Surrey September 17, 2018
- Installation of Mock Tudor Fascias, Soffits & Gutters in Ewell, Surrey June 20, 2018
- Installation of Fascias, Soffits & Guttering in Banstead, Surrey. June 11, 2018
- Installation of Fascias, Soffits & Guttering in Merton Park, London SW19 June 11, 2018
Company Registration
Company Name:
Homefront Roofline Surrey Ltd
Trading Address:
78 Partridge Mead,
Banstead, Surrey SM7 1LP
Registered Office:
83a Victoria Road
Farnborough
Hampshire
GU14 7PP
Company Registration Number:
13136244
Details of the limited company’s registration can be found at: https://find-and-update.company-information.service.gov.uk/company/13136244

